Great photos and videos rarely happen by accident. That’s why the most important work for any visual project starts with a strong pre-production process before picking up the camera.
Whether you’re producing content for marketing, editorial publication, or documentary storytelling, these three key pre-production steps— research, developing a creative vision and planning your shoot— will help you approach your next project with confidence and clarity.
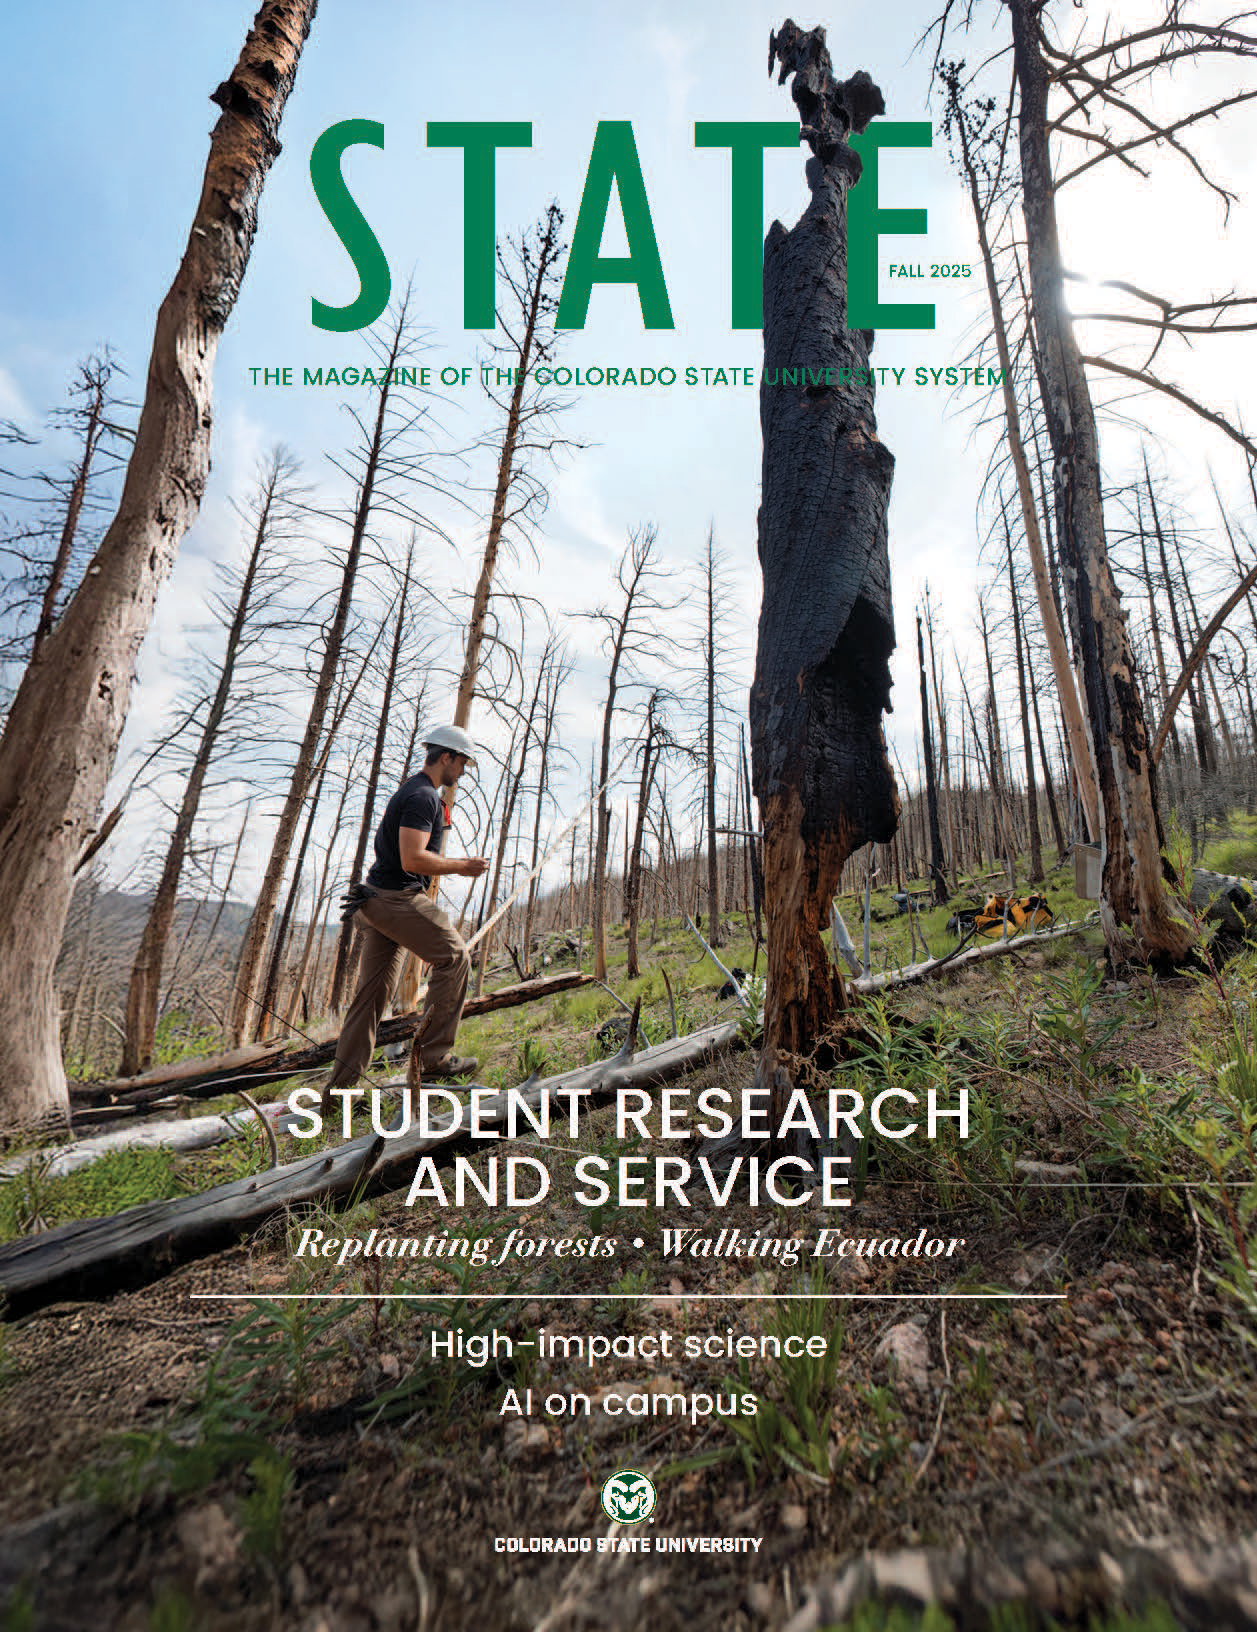
As we walk through the pre-production process, I’ll share how I approached a recent project using these three steps for a story featuring CSU’s Colorado Forest Restoration Institute (CFRI), which was published in the Fall 2025 edition of State Magazine.
Step 1: Start with research
Every successful visual project begins with understanding. Research helps define the who, what, when, where and why behind the content you’re trying to create. Think big picture. This is an opportunity to ask important questions and build context, which will ultimately guide your creative decisions that follow.
Start by clarifying your goals and gathering as much information as possible. Read about your subject to build a base level of knowledge. Reviewing similar projects, whether from your own organization or others in your field, can help identify best practices and gaps you might fill with a fresh approach.
Research also includes logistical considerations. Are there constraints related to location, timing or resources? Brand guidelines? Specific requests from project stakeholders and partners? Gathering this information early prevents surprises later and ensures your creative ideas are both ambitious and achievable.
For the project with CFRI, I began by immersing myself in research on wildfire restoration. I read articles online and took notes while watching a handful of short documentaries. I also combed through the CFRI website to learn more about their mission.
Once I felt grounded in the subject matter, I was ready to start having conversations with key stakeholders. I arranged a series of informational meetings, connecting with State Magazine’s editor, the science writer assigned to collaborate with me, and the director of the research institute. After these conversations, I had a clear understanding that the story was focused on student-driven fieldwork. This was great for narrowing the scope of potential imagery. I also learned that the final products needed to be optimized for both digital and print publication. Deadlines were set, and I now had a foundation to build around.
Step 2: Develop a clear creative vision
Once you understand the landscape, it’s time to shape your creative vision. This step turns abstract goals into a visual and emotional direction for your project.
A creative vision answers questions like: What should this look and feel like? What story are we telling? What emotions should the audience experience? This doesn’t necessarily require a fully formed script or shot list yet, but it does require intention.
Many creatives find it helpful to create mood boards, visual references or written concept statements. These tools help align everyone involved around a shared idea. Defining elements such as color palette, pacing, lighting style and overall tone help ensure consistency throughout production and post-production.
Importantly, a strong creative vision also helps with decision-making. When questions arise on shoot day, you can return to your core concept and ask, “Does this choice support the story we’re trying to tell?”
To craft my creative vision, I compiled a mood board using Milanote. This is a fantastic tool for organizing projects. It’s extremely flexible and great for visual learners who want to keep all their ideas in one place. I added reference photos, notes, links and phrases that stuck out to me during my initial research gathering.
I knew a large component of the story would be focused on the student experience, so I gravitated toward reference images that were layered, showing people actively at work among the textured and desolate backdrop of wildfire burn scars, as well as detail shots and environmental portraits.

Step 3: Plan your shoot thoroughly
With your vision in place, detailed planning turns ideas into action. This is where creativity meets logistics.
Start by outlining the scope of the shoot. What assets do you need? Photos, video clips, interviews, b-roll? From there, build a plan that includes locations, schedules, equipment needs and roles. Shot lists and storyboards are especially valuable tools, helping you visualize the final product and stay organized during production.
Planning also means thinking ahead about potential challenges. What’s the backup plan if the weather changes or a location becomes unavailable? Do you have permissions, releases or approvals secured? Addressing these details in advance reduces stress and keeps the shoot running smoothly.
Finally, communication is key. Sharing the plan with everyone involved ensures expectations are clear and helps the team work efficiently together.
Location, equipment and timing were high-priority items for me while planning for the CFRI project. I would be working in mountainous terrain, tasked with collecting all of the imagery for both photo and video in a day and a half. Taking all of this into consideration, I spent a good amount of time making lists and thinking through the details of how to capture my creative vision.
I needed to be nimble, opting for an equipment package that was light and could be carried in a single shoulder bag. I planned to conduct video interviews and shoot landscapes early in the morning and later in the evening, when light was soft, because shade would be scarce on the burn-scarred hillsides. A shot list downloaded to my phone ensured I could keep track of what I needed to capture when we were outside of cellular service.

Setting Yourself up for success
Pre-production may not be the most glamorous part of the creative process, but it’s often the most impactful. By investing time in research, defining a clear creative vision and planning your shoot thoroughly, you set yourself up for stronger visuals, smoother production days and content that truly delivers on its goals.
When it’s time to pick up the camera, you’ll be ready—not just to capture images, but to tell a compelling story with purpose and precision.
Check out the final video below!